
You've decided you need a chatbot on your website. Maybe you're tired of missing leads that come in after hours. Maybe your support team is drowning in repetitive questions. Or maybe you just want to give visitors instant help instead of making them fill out contact forms and wait.
The good news? Learning how to set up chatbot on website is easier than you think. Modern platforms like Steps AI have simplified the entire process to the point where you can have a fully functional chatbot live on your site in under 10 minutes.
This guide walks you through the essential steps to get your chatbot up and running, from choosing your platform to going live.
Step 1: Choose Your Chatbot Platform
Your first decision is which platform to use. This choice affects everything from how easy setup will be to what features you'll have access to.
What to look for:
Ease of setup is crucial. Look for platforms that don't require coding or technical expertise. You should be able to upload your information, customize appearance, and deploy without submitting IT tickets.
Natural language understanding separates good chatbots from frustrating ones. The platform should handle questions phrased in different ways, understand context, and maintain conversation flow naturally.
Customization options let you match the chatbot to your brand. You should be able to adjust colors, positioning, greeting messages, and behavior to fit your website's look and feel.
Integration capabilities matter if you want your chatbot to connect with your CRM, email system, or other tools. Check what integrations are available before committing.
Steps AI checks all these boxes, which is why we'll use it as our example throughout this guide. The general principles apply regardless of which platform you choose. See what to evaluate before adding an AI chatbot to your website for a deeper dive into selection criteria.
Ready to get started? Try Steps AI free and have your chatbot live in minutes, not days.
Step 2: Prepare Your Content and Information
Before you can set up your chatbot, you need to give it something to work with. The quality of your chatbot's responses depends entirely on the information you provide.
Gather these materials:
Product or service documentation that explains what you offer, features, specifications, and use cases. If customers ask "what does this do?" or "how does this work?", your chatbot needs this information.
Common questions and answers from your support inbox, sales calls, and customer conversations. Look at your actual support tickets from the last few months. What questions come up repeatedly?
Policies and procedures including pricing, shipping, returns, refunds, and anything else customers regularly ask about. Make sure this information is current and accurate.
You don't need to format this perfectly or write new content from scratch. Most platforms, including Steps AI, can learn from your existing documents, web pages, help articles, and FAQs. Just gather what you already have.
The more comprehensive your information, the more questions your chatbot can handle independently. But you can always start with the basics and add more over time.
Step 3: Set Up Your Account and Upload Information
Now we get to the actual setup process. Here's how to set up chatbot on website with a modern AI platform.
Create your account on your chosen platform. This typically takes less than a minute with just an email and password.
Upload your information. With platforms like Steps AI, you simply upload documents, paste in your website URL, or add text directly. The AI processes this content and learns what your business does, what you offer, and how to answer common questions.
This is dramatically simpler than old-school chatbot setup, where you'd need to manually program every question-answer pair and map out conversation trees. AI does the heavy lifting for you.
Test your chatbot's knowledge. Before putting it on your live site, have conversations with it. Ask questions your customers would ask. See how it responds. Look for gaps in its knowledge or areas where responses could be clearer.
This entire process, from account creation to having a trained chatbot, typically takes 15-30 minutes with modern platforms.
Step 4: Customize Appearance and Behavior
Your chatbot should feel like a natural part of your website, not a generic widget that clearly came from somewhere else.
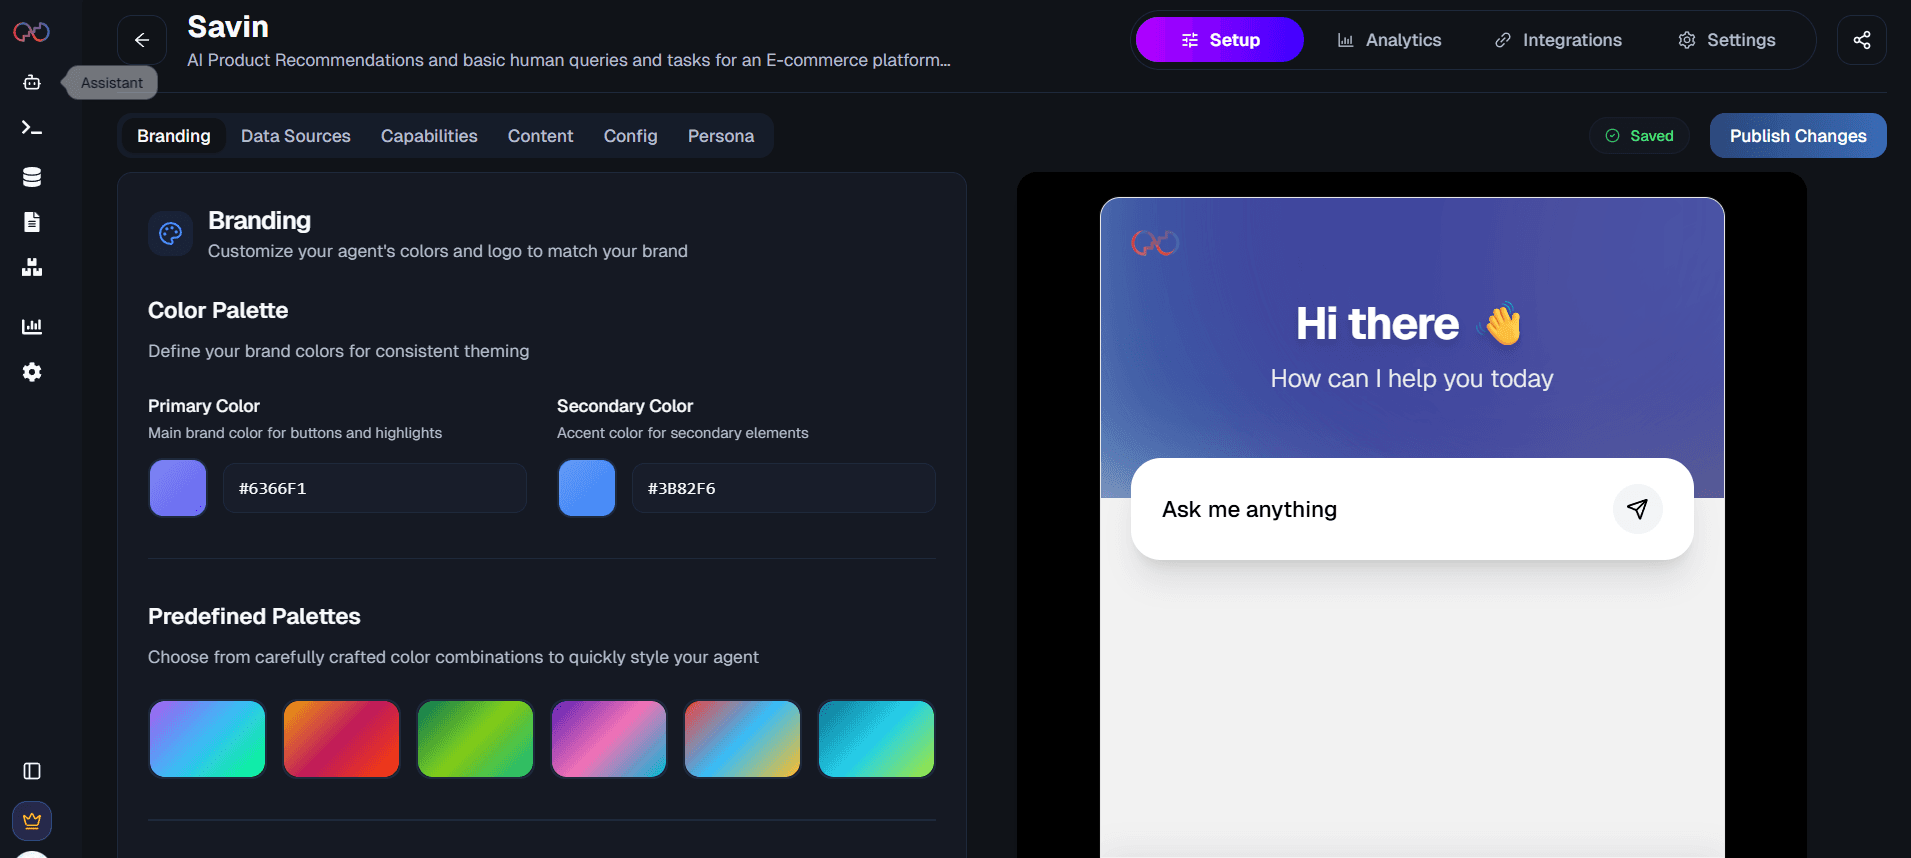
Visual customization includes choosing colors that match your brand, adjusting the chat bubble position (bottom right is standard, but you might prefer bottom left), and customizing the avatar or icon that represents your bot.
Greeting message is what people see when the chat widget appears. Make it helpful and relevant. "Hi! I can help you with questions about our products, pricing, or shipping" is more useful than a generic "How can I help you?"
Behavior settings control when and how the chatbot appears. Should it pop up immediately when someone lands on your site? After they've been browsing for 30 seconds? Only on certain pages? Understanding what makes a website chatbot effective for real customers can guide these decisions.
Escalation options determine what happens when your chatbot can't help. Can it collect contact information for follow-up? Can it route to specific team members? Make sure there's a clear path for customers who need human assistance.
Most platforms provide preview modes so you can see exactly how your chatbot will look and behave before making it live.
Step 5: Install the Chatbot on Your Website

This is usually the step people worry about most, assuming it requires technical knowledge. It doesn't.
For most website platforms, installing a chatbot involves copying a small code snippet and pasting it into your website. Here's how to set up chatbot on website for common platforms:
WordPress: Paste the code snippet into your theme's footer or use a plugin that lets you add custom code to your site.
Shopify: Add the code to your theme's theme.liquid file, or use a chatbot app from the Shopify App Store.
Wix: Add an HTML embed element to your site and paste your chatbot code into it.
Squarespace: Use a code injection tool to add your chatbot snippet to your site footer.
Custom websites: Give the code snippet to your developer, or if you have access to your site's code, add it to your footer before the closing body tag.
The exact process varies slightly by platform, but the core principle is the same: you're adding a small piece of code that loads your chatbot. This code is provided by your chatbot platform and is usually just a few lines long.
If this still sounds intimidating, many chatbot providers offer installation assistance or detailed guides for specific website platforms.
Need help with installation? Start your Steps AI trial and access platform-specific setup guides plus support if you need it.
Step 6: Test Before Going Live
Once your chatbot is installed on your site, test it thoroughly before announcing it to customers.
Test from a customer's perspective. Open your website in an incognito browser window. Interact with the chatbot. Ask the questions your customers typically ask. Make sure it responds appropriately and that all links and information are correct.
Test on different devices. Check how your chatbot looks and functions on desktop, tablet, and mobile. The chat interface should be readable and usable on all screen sizes.
Test the escalation path. Intentionally ask questions your chatbot can't answer and make sure the handoff to human support works smoothly.
Have team members test it. Get fresh eyes on your chatbot. People outside your immediate circle will spot issues you've become blind to.
Fix any problems you find before making your chatbot widely available.
Step 7: Monitor and Optimize After Launch
Setting up your chatbot isn't a one-and-done task. The most effective chatbots are continuously improved based on real-world performance.
Track key metrics like conversation volume, completion rate, most common questions asked, and customer satisfaction ratings if you collect them.
Review conversation transcripts regularly. Read through actual conversations to see where your chatbot excels and where it struggles.
Update your knowledge base when you notice gaps. If customers frequently ask about something your chatbot doesn't know about, add that information. When your business changes, update your chatbot accordingly.
Think of your chatbot as a living tool that gets better over time, not a static widget you set up once and forget about. Explore practical website chatbot use cases to see how other businesses optimize their chatbots for specific goals.
Common Mistakes to Avoid
Launching with incomplete information. If your chatbot only has basic information about your business, it won't be able to help with many customer questions. Take time to provide comprehensive content before going live.
Making it impossible to reach a human. Always provide a clear, easy path to human support. Customers should never feel trapped talking to a bot that can't help them.
Ignoring mobile users. More than half of web traffic comes from mobile devices. Your chatbot needs to work perfectly on small screens, not just on desktop.
Never updating it. If you launch your chatbot and then ignore it for six months, it will become outdated and less useful. Schedule regular reviews and updates.
The Bottom Line
Learning how to set up chatbot on website is no longer a complex technical challenge. With modern AI platforms, the entire process from choosing your tool to launching your chatbot can happen in under an hour.
The key steps are straightforward: choose a platform that doesn't require coding, prepare your business information, upload it to train your AI, customize the appearance, install the code snippet on your site, test thoroughly, and then continuously improve based on performance.
The businesses that succeed with chatbots are those that treat setup as the beginning of the journey, not the end.
Frequently Asked Questions (FAQs)
How long does it take to set up a chatbot on a website?
With modern AI platforms like Steps AI, you can have a fully functional chatbot live on your website in 15-30 minutes. This includes account creation, uploading your information, customizing appearance, and installing it on your site.
Do I need coding skills to set up a chatbot?
No. Modern chatbot platforms are designed for non-technical users. The setup process typically involves uploading documents or URLs, customizing settings through a visual interface, and copying a code snippet to your website. No programming knowledge required.
Can I set up a chatbot on any type of website?
Yes. Modern chatbots work with virtually any website platform including WordPress, Shopify, Wix, Squarespace, and custom-built sites. The installation process varies slightly by platform, but the core principle is the same: adding a code snippet to your site.
What information do I need before setting up a chatbot?
You need content about your business, products, or services. This includes FAQs, product documentation, policies, pricing, and answers to common questions. The more comprehensive your information, the better your chatbot can help customers.
Can I update my chatbot after it's set up?
Absolutely. Modern platforms make it easy to update information, adjust responses, and add new capabilities as your business evolves. Regular updates keep your chatbot accurate and increasingly useful over time.